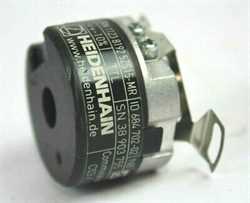
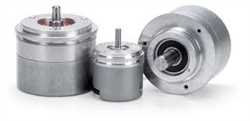
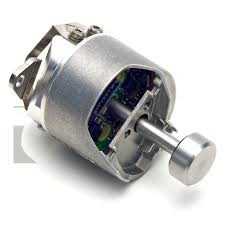
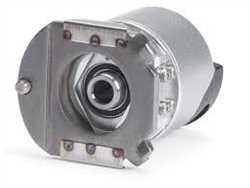
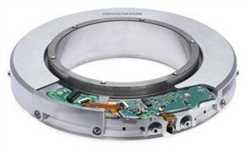
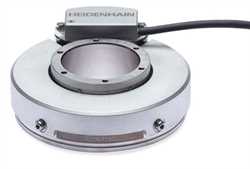
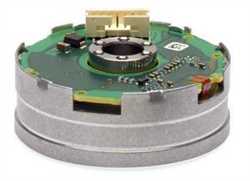
HEIDENHAIN ERA 8480 Modular Angle Encoder Wtih Optimal Scanning
BRAND : HEIDENHAIN
Scanning head | AK ERA 8480 | |||
Interface | 1 VPP | |||
Cutoff frequency –3 dB | ? 350 kHz | |||
Electrical connection | Cable 1 m with M23 coupling (12-pin) | |||
Cable length | ? 150 m (with HEIDENHAIN cable) | |||
Voltage supply | DC 5 V ±0.5 V | |||
Scanning head | AK ERA 8480 |
Interface | 1 VPP |
Cutoff frequency –3 dB | ? 350 kHz |
Electrical connection | Cable 1 m with M23 coupling (12-pin) |
Cable length | ? 150 m (with HEIDENHAIN cable) |
Voltage supply | DC 5 V ±0.5 V |
Current consumption | < 100 mA (without load) |
Vibration 55 to 2000 Hz Shock 6 ms | ? 200 m/s2 (EN 60 068-2-6) ? 1000 m/s2 (EN 60 068-2-27) |
Operating temperature | –10 °C to 80 °C |
Mass | ? 20 g (without cable) |
Scale Tape | MSB ERA 8400 C full circle version MSB ERA 8401 C segment version with tensioning elements MSB ERA 8402 C segment version without tensioning elements | |||
Measuring standard Grating period Coefficient of expansion | Steel scale-tape with METALLUR graduation 40 µm ?therm ? 10.5 · 10–6 K–1 | |||
Signal periods1) | 36 000 | 45 000 | 90 000 | |
Accuracy of graduation2) | ±4.7” | ±3.9” | ±1.9” | |
Interpolation error per signal period2) | ±0.4” | ±0.3” | ±0.1” | |
Accuracy of the scale tape | ±3 µm/m of tape length | |||
Reference marks | Distance-coded | |||
Scale-slot diameter* | Full circle | 458.11 mm | 572.72 mm | 1145.73 mm |
Segment | ? 400 mm | |||
Mech. permissible speed | ? 50 rpm | ? 50 rpm | ? 45 rpm | |
Permissible axial movement | ? 0.5 mm (scale tape relative to scanning head) | |||
Permissible expansion coefficient of shaft | ?therm?9 · 10–6 K–1 to 12 · 10–6 K–1 | |||
Protection EN 60 529 | Complete encoder in mounted condition: IP00 | |||
Mass | ? 30 g/m | |||
* Please select when ordering, additional diameters up to max. 3 m upon request 1) Validity for full circle version; for segment versions depending on the mating diameter and the tape length 2) Accuracy of the graduation and interpolation error within one signal period result in the encoder-specific error; for additional error from mounting and bearing of the measured shaft, see Measuring accuracy | ||||
